Back to Work!
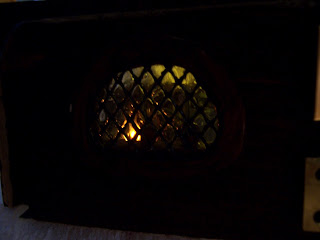
With a Three day weekend devoted mostly to Minis, Dear Readers, I have made some Wonderful progress on the Tree House Kitchen and all it's tiny furnishings! To begin with, I have made a tiny "Leaded glass" window with diamond panes for the Kitchen opening wall. Here below you can see the window looking into the lighted room from the outside.....
I made the "leaded window" by painting some scraps of gold mesh netting with dark gray acrylic paint
as you can see here below...
And here you can see that I have glued the painted mesh to the window pane cut from clear plastic packaging.... except that you almost can't SEE the window...! I generously covered the window in a layer of Aleen's tacky glue and pressed the mesh onto it. I did this for Both sides of the pane... being sure to carefully align the mesh pattern. I think the layer of glue over the "glass" adds to the "wrinkly old glass pane" feel of the window.
And then I glued it in place over the hole in the front wall panel....
after I had built the Window seat on the inside...
(Actually I stained the wood Before I attached the window pane....!)
Like This....... dark walnut stain.......
Then I sewed a plush blue velvet seat cushion......
And then I made one of these.....
"What is this ?" you ask....
Why it's a little Pillow for the Window seat.... of Course!
And I couldn't stop with just one!
They are each about one quarter of an inch square!
But That is not all I have been making, Dear Readers.....
I have tried my hand at building tiny furniture for the kitchen....
Using wooden matchsticks.......
I started with a table....
Here you can see the underside of the framework....
And here you see it right side up....
the top is the punched-out piece from the smallest windows on "The Folly"
(First rule of a mini-maker is NEVER throw those little pieces out!)
And if you have a Table you Must have a chair....
so here I have started the chair....
(I am gluing the pieces together on top of a piece of plastic so the glued pieces won't stick to the plastic...)
And here you can see the framework of the chair completed....
It was really quite tricky because the front section is wider than the back (as it should be) so the angles are NOT right angles where they meet the sides!
And once it was stained a lovely light maple color.....
I started "weaving" the seat from embroidery floss......!
It turned out BETTER than I had hoped!!!
I think I am in LOVE with this little chair!!!!!
And I had to add some placemats and bowls to the table......
filled with tiny golden "cheerios" (beads!)
And once I got started on accessorizing.....
I made cups from sections of coffee stirrer straws....
(collected on my recent travels...!)
And made micro spoons cut from a disposable aluminum pie pan....!!!
Here you can see it all with my INDISPENSABLE Tweezers......
Without which I would accomplish Nothing in this scale!
I have also added some potted plants on the window sill.....
(lumpy pots made from sculpey.... and one Cloisonne bead)
And if you look Closely you can see I have added the dishwashing soap on the sink....
and a scrubbing brush hanging from the shelf....
and a woven "Rag" rug on the floor......
And here you can see the table and chair in place.....
just not glued down yet......
in case I need to adjust anything Behind them first.....!
But all in all I'd say I made some Great (I mean Tiny)
Tree House Progress!


.JPG)
0 Yorumlar